- home Forum
- arrow_forward
- Support
- arrow_forward
- Triton Series
- arrow_forward
- Triton Towers
- arrow_forward
- TRITON REFERENCE PASSIVE RADIATOR GRILL REMOVAL
 TRITON REFERENCE PASSIVE RADIATOR GRILL REMOVAL
-
 Offline
school
- Platinum Member
-

- arrow_drop_downMore arrow_drop_upLess
GDHAL
Posted
7 years 5 months ago
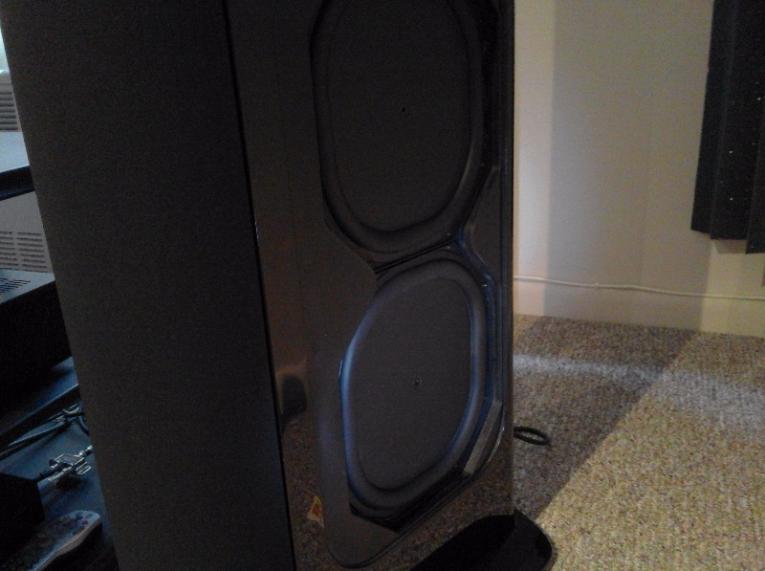
So, I've finally figured out at least one correct - and likely best - way to remove the cloth radiator grill covers on the Reference.!!!! 
How so and why so may you ask?

Let's start with the why. Because I am a big believer in physical inspection for maintenance and other purposes. Also a believer in independent verification of said radiators. That's why.
Next, lets go to the how. This *is* difficult *if* you wish to take utmost care to not damage the beautiful cabinet finish. Suffice it to say, I do not want to cosmetically compromise anything and it is imperative that I do not damage anything.
I asked Golden Ear how to remove the grills. Their response, "It is a press fit". Great, but that didn't answer my question. I asked my dealer. My dealers method of removing the grills is pathetically bad. It involves using duct tape over the cloth to "pull" it out. Not only will that not work, but if it does, the sticky residue will be impossible to remove.
Okay, so I realized that something like a rubber spatula would be needed. Instead, I used a credit card. That's right. The plastic is both strong enough to "pry" the grill off AND flexible enough not to cause any damage to the finish.
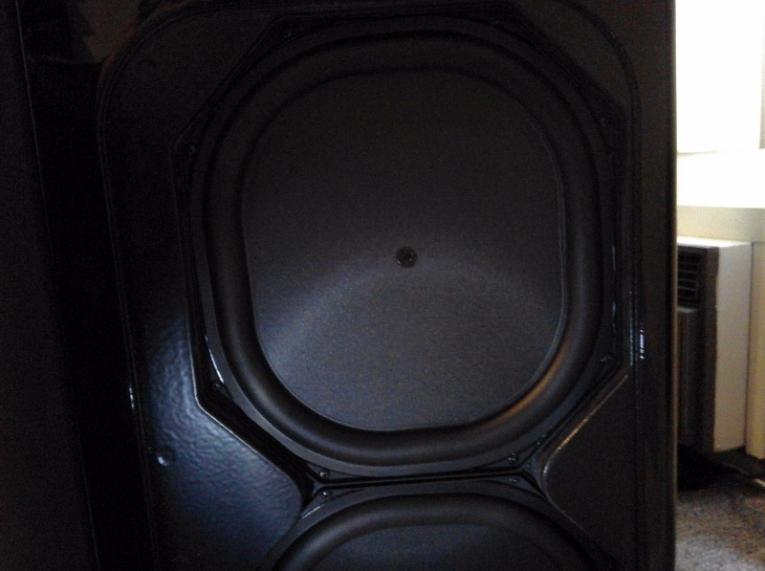
I was impressed. Keep in mind I had previously removed the grill covers *on the dealer demo pair* and had already seen the radiators. In fact, even Sandy wasn't aware they were held on magnetically until I called it to his attention. So why was I impressed? A number of reasons. The quality of the workmanship was evident. The overall "architecture" of how the radiators are placed and seated obviously involved computer-aided design and drafting as well as highly thought out precision engineering.
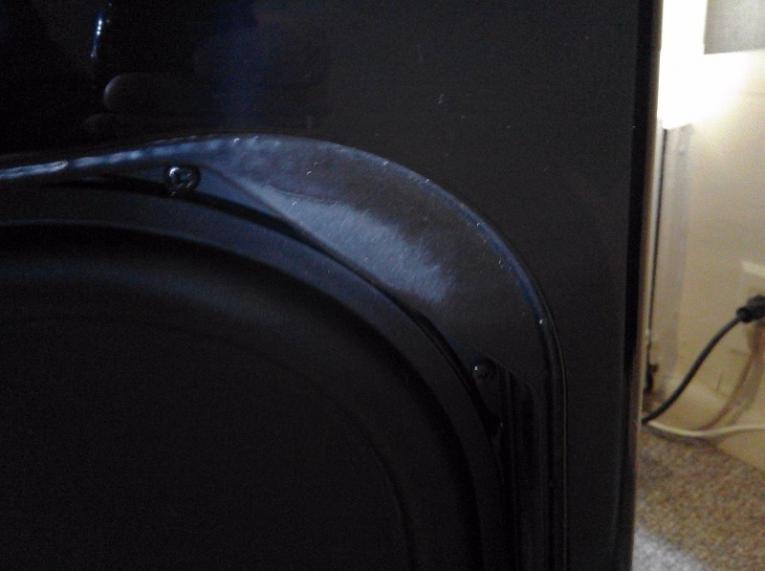
Of lesser importance but still relevant, all nine screws on each radiator was torqued correctly. That is to say the two screws (all phillips head) in each corner and the larger center screw were perfectly tightened. Moreover, there is some kind of epoxy resin/sealant rather nicely and uniformly applied around the entire radiator. While overkill and likely not needed or factually the case, the appearance is as though the radiators are both air and water tight with respect to the cabinet. It can't get any more flush than it is.
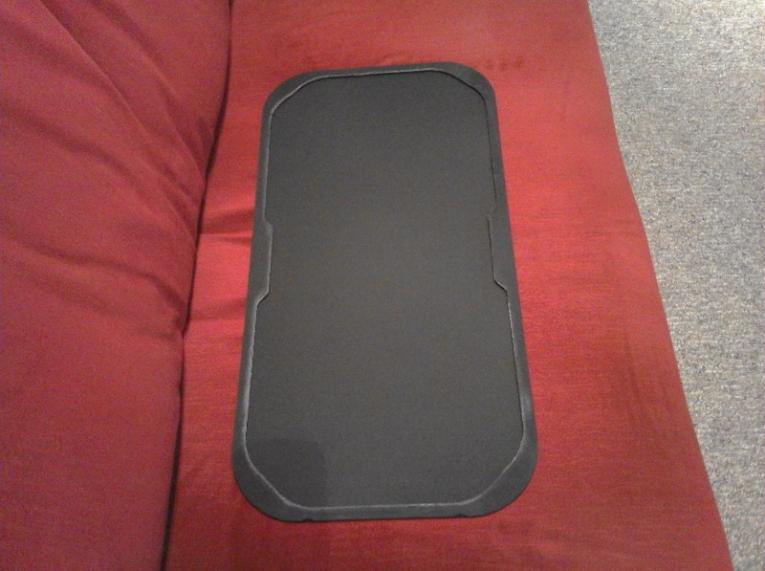
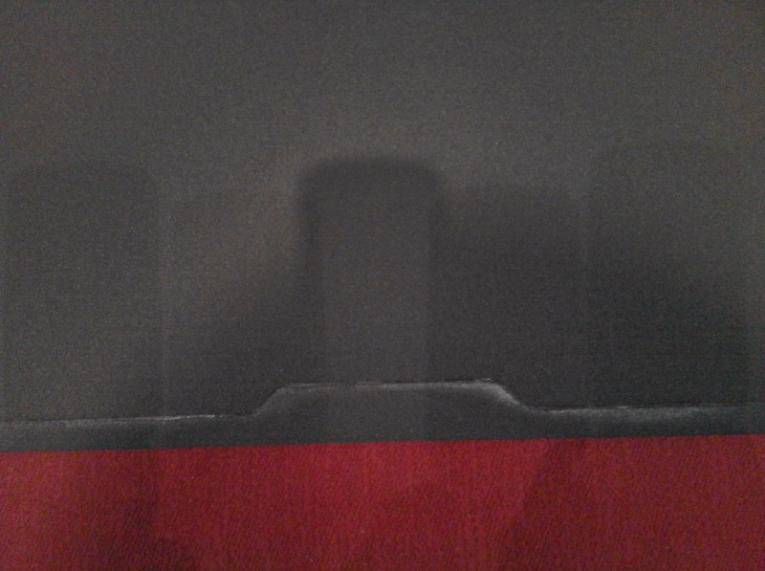
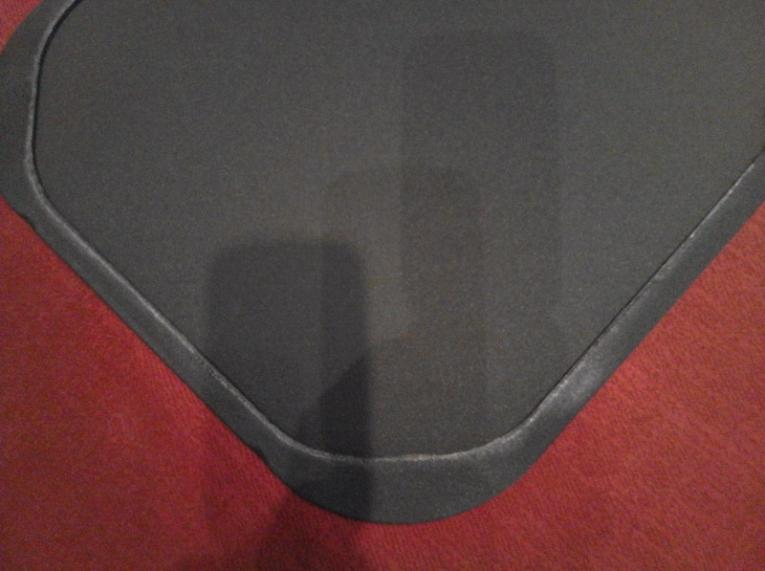
Also, the magnets were WAY above-and-beyond those of the demo pair. Sandy did point out the demo pair was cosmetically less than perfect in comparison to the customer variety. In the case of the demos, each of the four magnets was the size and shape of a dime. In the case of the customer versions, and as can be seen from the photos, the surface magnetic surface area is *substantially* greater. Perfectly flat and an integral part of the cloth grill "border". Very nicely done. And, putting the cloth grill covers back on is a snap - literally!
The "gap" between the radiator cloth/grill and the cabinet is exquisitely elegant and in fact, perfect. Just enough to be able to remove them yet slender enough to contribute to the overall outstanding cosmetic appeal of the cabinet.
And the fact that the radiators are an integral part as to why the Reference sounds phenomenal is also worth mentioning.
How so and why so may you ask?
Let's start with the why. Because I am a big believer in physical inspection for maintenance and other purposes. Also a believer in independent verification of said radiators. That's why.
Next, lets go to the how. This *is* difficult *if* you wish to take utmost care to not damage the beautiful cabinet finish. Suffice it to say, I do not want to cosmetically compromise anything and it is imperative that I do not damage anything.
I asked Golden Ear how to remove the grills. Their response, "It is a press fit". Great, but that didn't answer my question. I asked my dealer. My dealers method of removing the grills is pathetically bad. It involves using duct tape over the cloth to "pull" it out. Not only will that not work, but if it does, the sticky residue will be impossible to remove.
Okay, so I realized that something like a rubber spatula would be needed. Instead, I used a credit card. That's right. The plastic is both strong enough to "pry" the grill off AND flexible enough not to cause any damage to the finish.
I was impressed. Keep in mind I had previously removed the grill covers *on the dealer demo pair* and had already seen the radiators. In fact, even Sandy wasn't aware they were held on magnetically until I called it to his attention. So why was I impressed? A number of reasons. The quality of the workmanship was evident. The overall "architecture" of how the radiators are placed and seated obviously involved computer-aided design and drafting as well as highly thought out precision engineering.
Of lesser importance but still relevant, all nine screws on each radiator was torqued correctly. That is to say the two screws (all phillips head) in each corner and the larger center screw were perfectly tightened. Moreover, there is some kind of epoxy resin/sealant rather nicely and uniformly applied around the entire radiator. While overkill and likely not needed or factually the case, the appearance is as though the radiators are both air and water tight with respect to the cabinet. It can't get any more flush than it is.
Also, the magnets were WAY above-and-beyond those of the demo pair. Sandy did point out the demo pair was cosmetically less than perfect in comparison to the customer variety. In the case of the demos, each of the four magnets was the size and shape of a dime. In the case of the customer versions, and as can be seen from the photos, the surface magnetic surface area is *substantially* greater. Perfectly flat and an integral part of the cloth grill "border". Very nicely done. And, putting the cloth grill covers back on is a snap - literally!
The "gap" between the radiator cloth/grill and the cabinet is exquisitely elegant and in fact, perfect. Just enough to be able to remove them yet slender enough to contribute to the overall outstanding cosmetic appeal of the cabinet.
And the fact that the radiators are an integral part as to why the Reference sounds phenomenal is also worth mentioning.
Golden Ear Triton Reference (pair), Musical Fidelity M6si, Schiit Yggdrasil-OG-B, Oppo UDP-205, Emotiva ERC-3, LG OLED65C9PUA, Salamander Synergy Triple Unit SL20, Audeze LCD-X, GIK acoustic paneling
halr.x10.mx/TritonReference.htm ; halr.x10.mx/other.html
halr.x10.mx/TritonReference.htm ; halr.x10.mx/other.html
The following user(s) said Thank You: Moderator
Please Log in or Create an account to join the conversation.
-
 Offline
- Platinum Member
-

- arrow_drop_downMore arrow_drop_upLess
anthem
Posted
7 years 5 months ago
GDHAL:
I'm very impressed. You need to be on GE's Design Team. Great information.
I'm very impressed. You need to be on GE's Design Team. Great information.
D-Sonic m3a-600m Mono > McIntosh MC152 > Primaluna ProLogue Premium Preamp > Oppo UDP205 > Decware ZLC > Triton Reference > Isoacoustics Gaia 2 > Canare 4S11 Speaker Cables > Audience Forte 3, Anticable L3 & Shunyata Venom PC's
Every great performance deserves an Audience!
Every great performance deserves an Audience!
The following user(s) said Thank You: GDHAL
Please Log in or Create an account to join the conversation.
-
 Offline
- Junior Member
-

- Posts: 26
- Thank you received: 21
- arrow_drop_downMore arrow_drop_upLess
Ejay220
Posted
6 years 8 months ago
Now how do we remove the front grill?
Triton References
Marantz 8802a and mm8077
Sony 75 940E
Sony 800x uhd player
XXL Center
XXL Sub x2
SuperSat 60 surrounds
Marantz 8802a and mm8077
Sony 75 940E
Sony 800x uhd player
XXL Center
XXL Sub x2
SuperSat 60 surrounds
Please Log in or Create an account to join the conversation.
-
 Offline
- Moderator
-

- Posts: 3359
- Thank you received: 3422
- Karma: 19
- arrow_drop_downMore arrow_drop_upLess
Moderator
Posted
6 years 8 months ago
Ejay220 wrote: Now how do we remove the front grill?
Don't do that, requires three people to get it back on again.
The following user(s) said Thank You: HTSME
Please Log in or Create an account to join the conversation.
-
 Offline
- Junior Member
-

- Posts: 32
- Thank you received: 34
- arrow_drop_downMore arrow_drop_upLess
boggswade
Posted
6 years 8 months ago
There are two screws under the base that have to be removed and then you push up on the grill to remove it. There is a notch about 3/4 of the way up on the speakers that they slide out from.
Goldenear TRef L/R
Goldenear SC Reference
Goldenear Aon 3 BRS & BLS
GoldenEar Sup Sat 50 LS & RS
GoldenEar Invisa (4) L/R Mid and L/R Rear Height
ML Motion 4 L/R Front Ht
ML Depth i Sub
Bryston 14B3
Emotiva XPA-5 Gen 2
Emotiva XPA-6 Gen 3
Oppo UHD-203
Sony XBR 75X940e
Marantz AV 8805
Goldenear SC Reference
Goldenear Aon 3 BRS & BLS
GoldenEar Sup Sat 50 LS & RS
GoldenEar Invisa (4) L/R Mid and L/R Rear Height
ML Motion 4 L/R Front Ht
ML Depth i Sub
Bryston 14B3
Emotiva XPA-5 Gen 2
Emotiva XPA-6 Gen 3
Oppo UHD-203
Sony XBR 75X940e
Marantz AV 8805
The following user(s) said Thank You: HTSME
Please Log in or Create an account to join the conversation.
-
 Offline
school
- Platinum Member
-

- arrow_drop_downMore arrow_drop_upLess
GDHAL
Posted
6 years 8 months ago
Ejay220 wrote: Now how do we remove the front grill?
You can email GoldenEar support and they can provide a pdf file with instructions.
Golden Ear Triton Reference (pair), Musical Fidelity M6si, Schiit Yggdrasil-OG-B, Oppo UDP-205, Emotiva ERC-3, LG OLED65C9PUA, Salamander Synergy Triple Unit SL20, Audeze LCD-X, GIK acoustic paneling
halr.x10.mx/TritonReference.htm ; halr.x10.mx/other.html
halr.x10.mx/TritonReference.htm ; halr.x10.mx/other.html
The following user(s) said Thank You: HTSME
Please Log in or Create an account to join the conversation.
Moderators: Moderator
- home Forum
- arrow_forward
- Support
- arrow_forward
- Triton Series
- arrow_forward
- Triton Towers
- arrow_forward
- TRITON REFERENCE PASSIVE RADIATOR GRILL REMOVAL
menu
close
Menu
Account
-
-

- Hissing sound
- In Support / Triton Series
- by Tsgt2007
- 4 days 14 hours ago
-
-
-

- Power Amplifiers
- In Advanced Topics / Problems and Solutions
- by Moderator
- 3 weeks 2 days ago
-
-
-

- POWER AMPLIFIER
- In Write Your Own Review / Triton Series
- by Crocluc
- 1 month 1 week ago
-
-
-

- Tonewinner AD 2500 or Advance Paris X-A160EVO ?
- In Write Your Own Review / Triton Series
- by Crocluc
- 1 month 1 week ago
-
-
-
- Are most Tritons going away
- In Support / Triton Series
- by rjohn79395
- 1 month 2 weeks ago
-
search
close
person_outline
arrow_back
